
How to Fix a Running Toilet
A running toilet is a common plumbing problem. Typically, it’s an easy fix that you can do yourself at home with some basic tools that you may already have at your house. But what materials do you need and how do you fix a running toilet?
What Tools Do You Need to Fix a Running Toilet?
To fix a running toilet, you may need pliers and a hacksaw. You may need to replace some parts inside the toilet tank, so it’s a good idea to go ahead and purchase a toilet repair kit from your local hardware store ahead of time. Even if nothing needs to be replaced this time, you’ll be prepared for the next time there’s a problem with your toilet.
How Can You Fix a Running Toilet?
The exact fix for your running toilet will depend on exactly what is wrong with it. The steps to fixing a running toilet include some diagnostic steps so you can see what’s wrong with the toilet first before attempting a fix.
Step 1: Check the Flapper
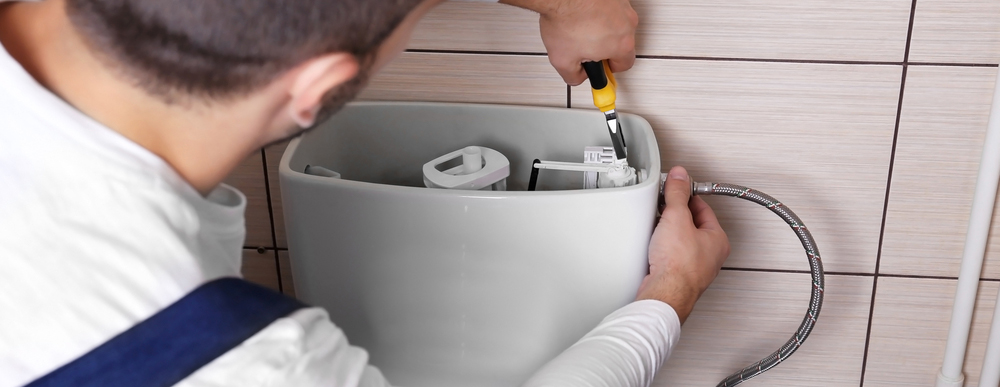
The first thing you should check is the flapper in the tank. Open the tank of the toilet and use a stick or similar implement to press down on the flapper. If the sound doesn’t stop, move on to the next step. If the sound of running water stops, then the problem is with the flapper: it’s not sealing properly to prevent water from running into the toilet bowl.
If the flapper is the problem, you’ll need to replace it. First, shut off the toilet’s water supply and then flush the toilet to get rid of as much water in the tank as possible. Then, while the water level is lower, you can replace the flapper. The package the new flapper came in should provide installation instructions, which may differ depending on the flapper you purchased. Then, turn the water supply to the toilet back on.
Step 2: Check the Toilet Float
If the flapper is fine, then next check the float. There are two different types of floats: ball and cup. Both types of floats are the mechanism with which your toilet knows it’s time for the tank to stop filling. If the toilet keeps running, then the float may be set too high. With a ball float, you can adjust the arm. If you have a cup float, you’ll need to find its adjustment mechanism, which is often a pinching mechanism, and then adjust it so that it is lower in the toilet tank.
Step 3: Check the Fill Valve
The next step is to check the fill valve for a leak. To do this, first flush the toilet. Look for a visible leak in the fill valve. Then, while the tank is refilling, lift up on the float arm and listen to see if the water stops. If it does, then move on to the next step. If the water does not stop, then adjust the toilet float arm so that the water stops when it’s about a half-inch away from the top of the overflow pipe.
Then, if you can still hear or see a leak, you’ll need to replace the fill valve. To do this, turn off the water supply to the toilet and then flush. You’ll need to unscrew the water supply line and lock nut on the exterior of the toilet’s tank where they connect to the fill valve. If you haven’t already purchased a replacement fill valve, it’s a good idea to bring the old one with you to the store so you can ensure the new one is exactly the same. Then, place the new fill valve in the toilet, re-screw the lock nut and water supply line, and then turn the water supply to the tank back on.
Contact us
Need Help With a Plumbing Problem?
Contact us for more information.